Omarchy 2.0 - Bitwarden Self-Hosted / VaultWarden
Continuing the Omarchy series and doing a cross-over with the home server series, let’s talk about Password Managers and 2FA. Anyone who follows me knows I talk often about personal digital security, the importance of paying attention to links so you don’t fall for scams, phishing, or accidentally install malware.
More important: having a strong, random, exclusive and different password for EACH site, app or service you use. Never, ever, reuse a password. Why? Because every day one of these sites gets breached and passwords get leaked. If you search for yourself on Have I Been Pwned you’ll surely find accounts of yours that have already leaked. And if you share that same password across 10 other sites, someone has probably already gotten into your account by now.
Watch my video about security:
Being too lazy to use a password manager is just a dumb excuse from lazy people. And a programmer has zero right to use that excuse.
Omarchy 1Password
Anyone who has followed DHH since the early days when Macs were the best platform for developers remembers he was always a fan of 1Password, one of the apps that worked best on iPhones.
I migrated back to Android and Linux many years ago, in 2015. I used 1Password, but on Android the app was horrendous, ugly, and painful to use. That’s why I gave up on it and kept bouncing between several other apps. Google Authenticator, Lastpass (which I don’t recommend).
I know there are several other open source ones that people prefer, but I ended up settling on Bitwarden, which is BEAUTIFUL both on Android and as a browser extension. On top of that, it has open components and allows self-hosting.
More than that, it doesn’t make it hard to export all the data from your account and import it somewhere else. Unlike apps like Twilio Authy, which locks you out of everything and is why I stopped using it.
Bitwarden has a secure random password generator, supports 2FA TOTP, lets you store secure notes (mini texts) and a lot more. The apps integrate with phone biometrics, so it’s very convenient to use.
I still keep my Bitwarden inside Samsung’s Secure Vault, the Samsung Knox Vault. So there are 2 layers of security. And when I need to walk around somewhere suspicious, I don’t take my main phone, only a burner phone with nothing important logged in.
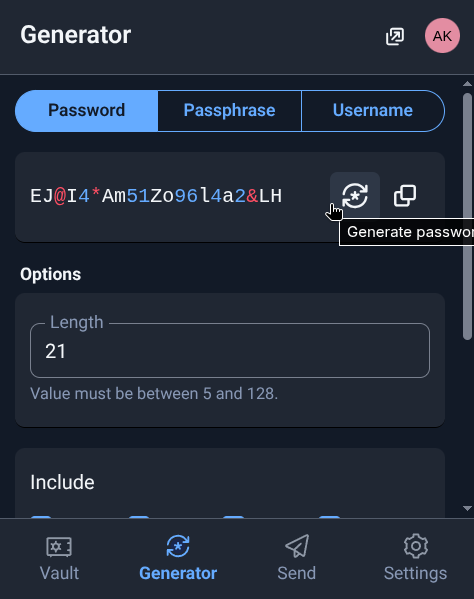
Look how beautiful it is. I like it and I’ve been using it for a few years now. My passwords range from 21 to 42 random characters, a different one for each site. I’ve updated all the passwords for everything more than once in the past few years, and all accounts have 2FA/TOTP registered inside Bitwarden too, which is how I managed to drop Authy.
Installing VaultWarden Self-Hosted
More important, the time has come to host my own Bitwarden server, vaultwarden, which is an open source alternative, code open on GitHub, so you can poke around yourself to learn or even contribute to it. Again, I bring everything up with Docker Compose on my Home Server, so I just needed to add this snippet to my file:
  vaultwarden:
    image: vaultwarden/server:latest
    container_name: vaultwarden
    restart: unless-stopped
    environment:
      DOMAIN: "https://bitwarden.fabioakita.dev"
      SIGNUPS_ALLOWED: "false"          # set to true only to create first user
      WEBSOCKET_ENABLED: "true"
      ADMIN_TOKEN: "iA...Q9"  # for /admin
      # SMTP (recommended)
      SMTP_HOST: "smtp.gmail.com"
      SMTP_PORT: "587"
      SMTP_SECURITY: "starttls"
      SMTP_USERNAME: "boss@akitaonrails.com"
      SMTP_PASSWORD: "xxx"
      SMTP_FROM: "boss@akitaonrails.com"
    volumes:
      - /home/akitaonrails/vaultwarden/data:/data
    ports:
      - "9999:80"
    healthcheck:
      test: ["CMD", "wget", "-q", "-O", "-", "http://localhost/health"]
      interval: 30s
      timeout: 5s
      retries: 5
Important:
- Create a long, random
ADMIN_TOKEN. Use Bitwarden itself for that, keep it secret. - Set
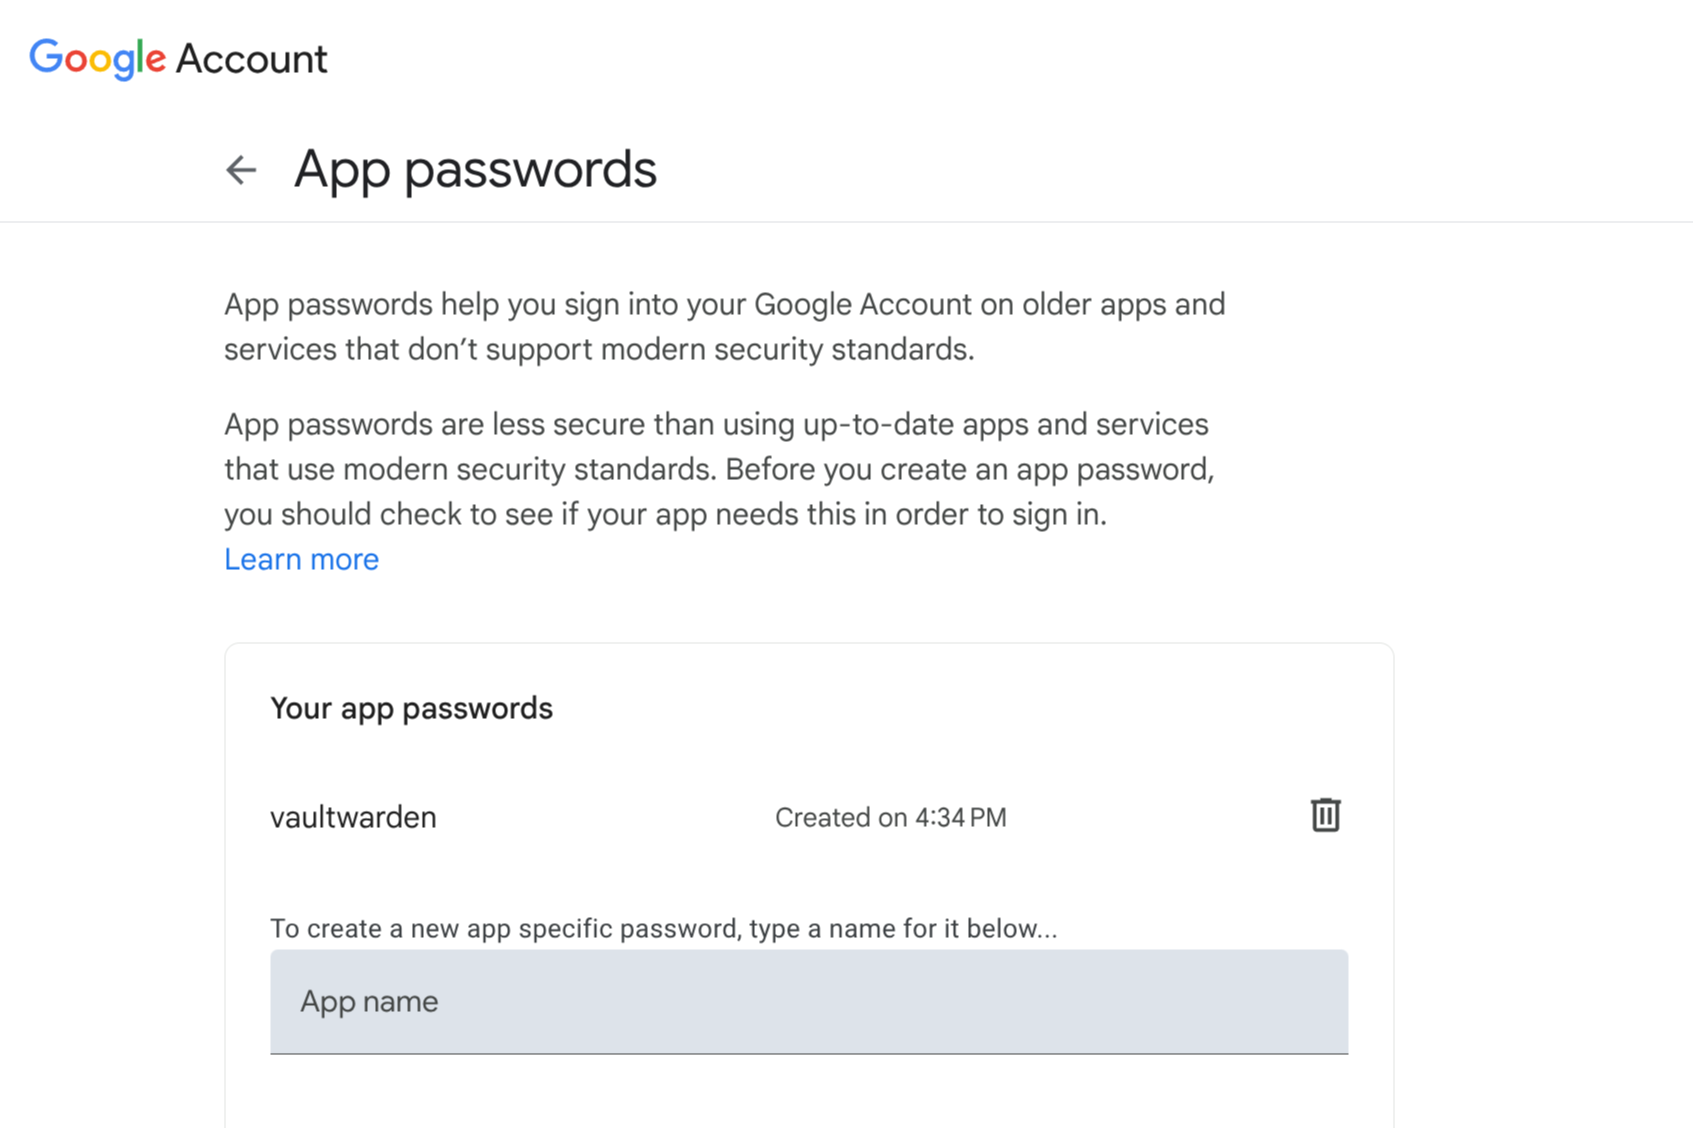
SIGNUPS_ALLOWEDtotrueonly once, log into the local site and create your new account. Then change it back tofalsein the file and restart the container. That way nobody else will be able to create any new accounts. - It’s recommended to configure a GMAIL SMTP to send notification emails. For that, you need to create an app password in Google.
To create a password exclusively for vaultwarden, go to Google App Passwords and generate a new exclusive secret password:
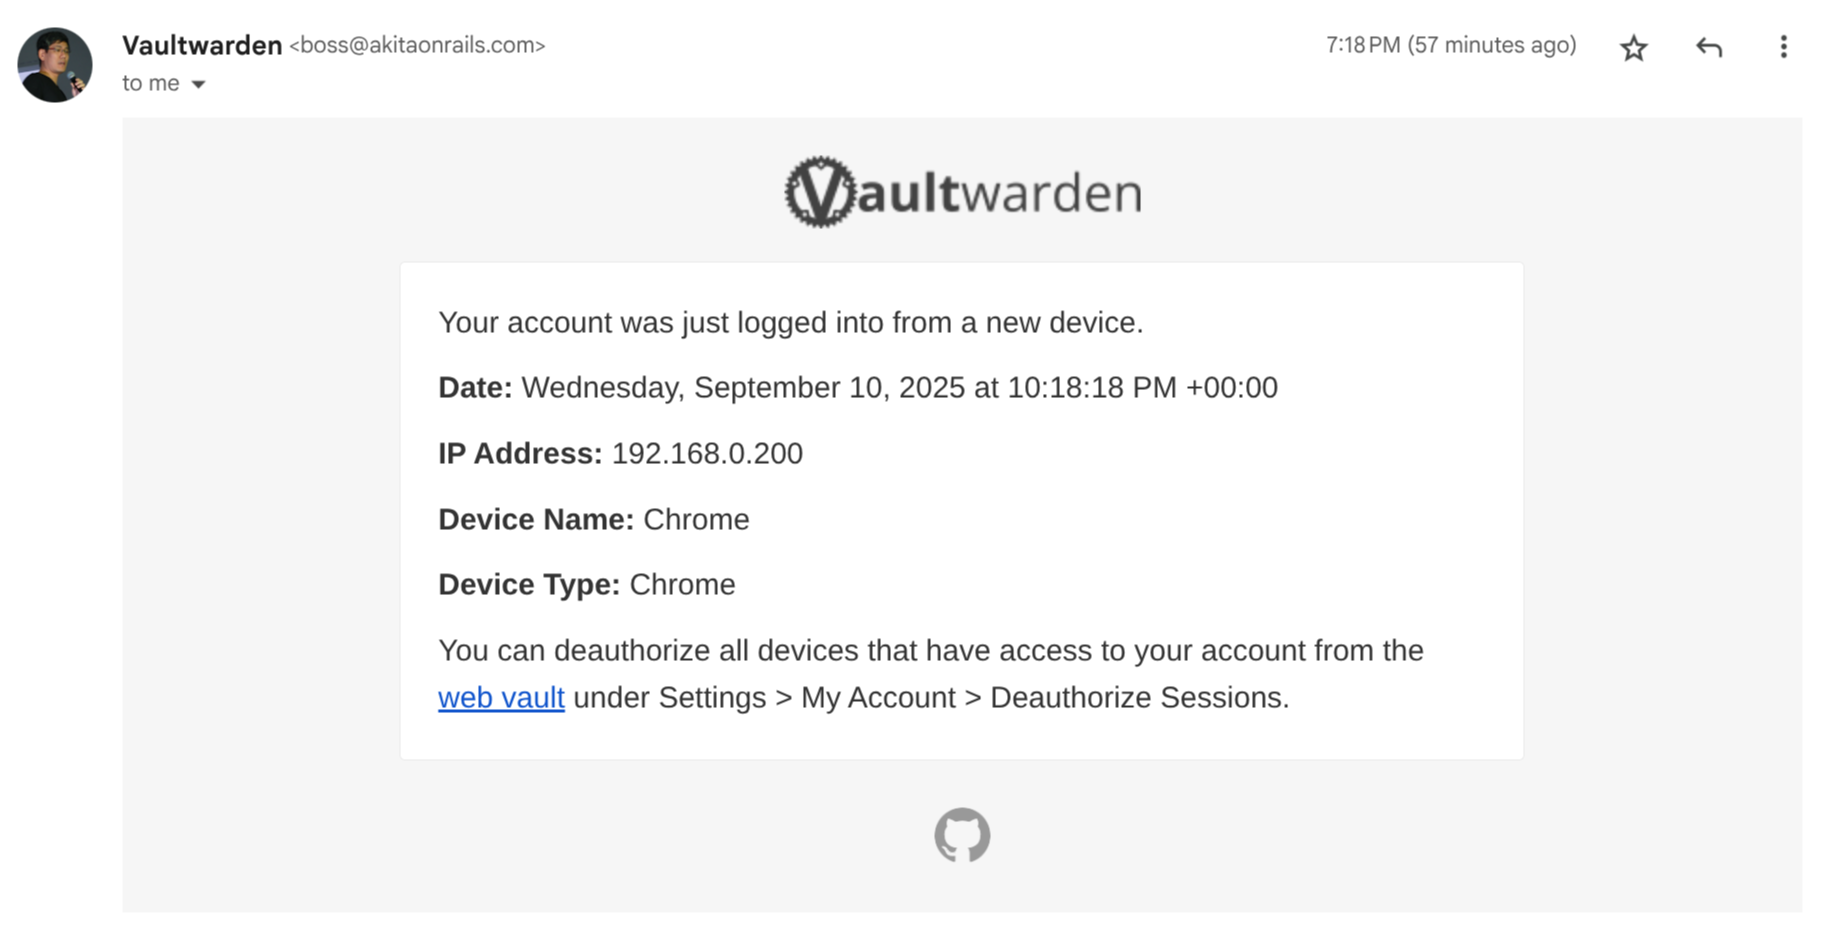
It will only show you that password once. Copy and paste it straight into the docker compose yaml. With email properly configured, every time someone logs in, it sends an email notification. That’s good to make sure nobody shady is messing with your server:
Now I just need to bring up the container:
docker compose -f utils-docker-compose.yml up -dRouting the Cloudflared tunnel
As I already showed in the Cloudflared post now I want to be able to access it remotely, via secure tunnel, using a public URL like https://bitwarden.fabioakita.dev. To do that we have to edit that /etc/cloudflared/config.yml file and add this to the end of it:
  - hostname: bitwarden.fabioakita.dev
    service: http://192.168.0.200:9999
    originRequest:
      httpHostHeader: bitwarden.fabioakita.dev
      http2Origin: true
  - service: http_status:404
Then we have to restart the service and also add the route manually:
sudo cloudflared tunnel route dns homelab bitwarden.fabioakita.dev
sudo systemctl restart cloudflared
And done! It might take up to 5 minutes for DNS to sync and all that, but then just hop into your browser and you’ll see this:
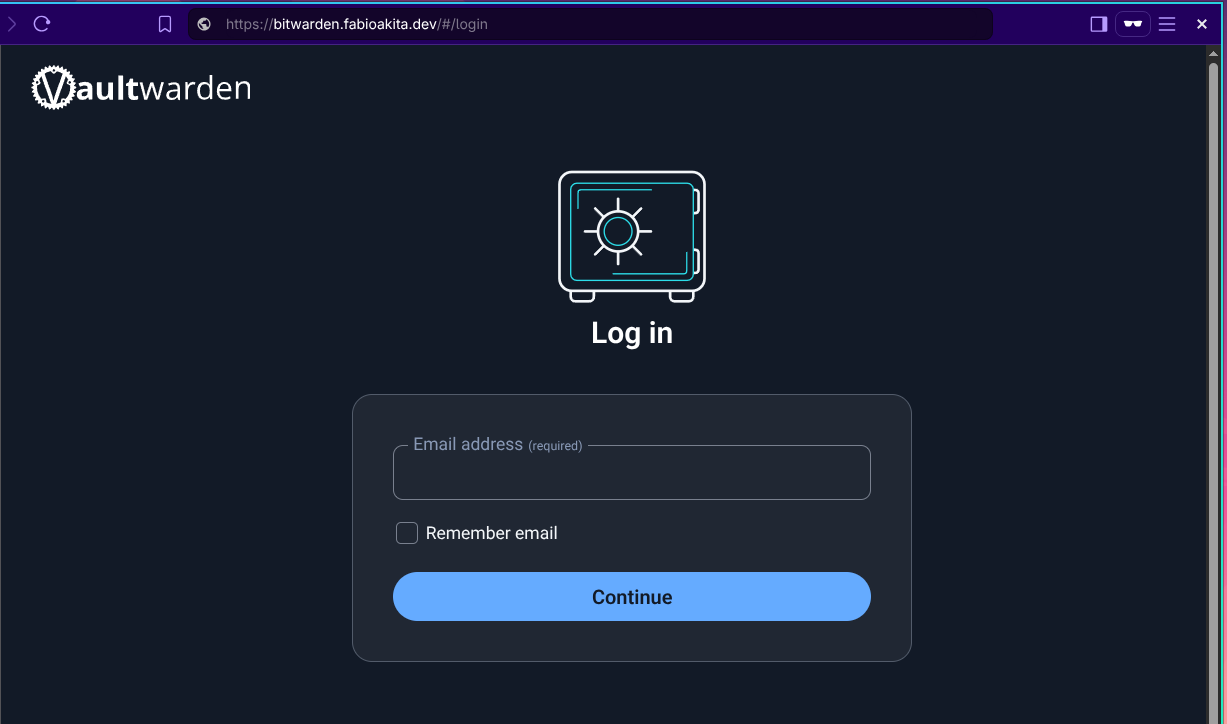
If that SIGNUPS_ALLOWED is true there will also be a link to “Create new account”. In my case I already did that and turned it off, so there’s only login.
Importing your Data
Before moving on, let’s open the Bitwarden extension - which is still logged into the cloud version at bitwarden.com - and export all my data:
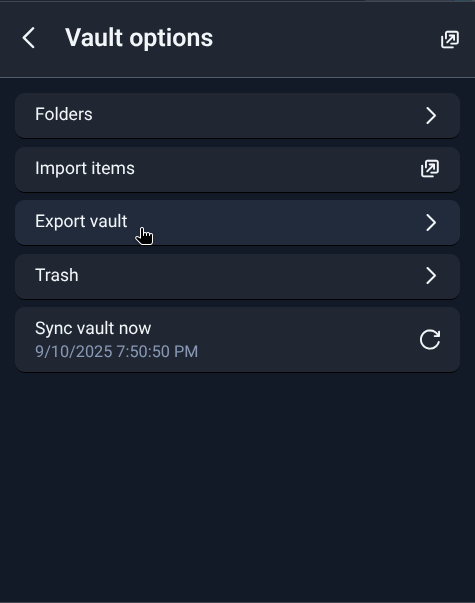
Just authenticate, then on the bottom icon bar you’ll find “Settings”, then “Vault Options” and finally “Export vault”. Leave the default JSON format (it will be an encrypted JSON) and download that file somewhere safe.
Now we can log back into our self-hosted version at https://bitwarden.fabioakita.dev and go through the same menu, but choose “Import”:
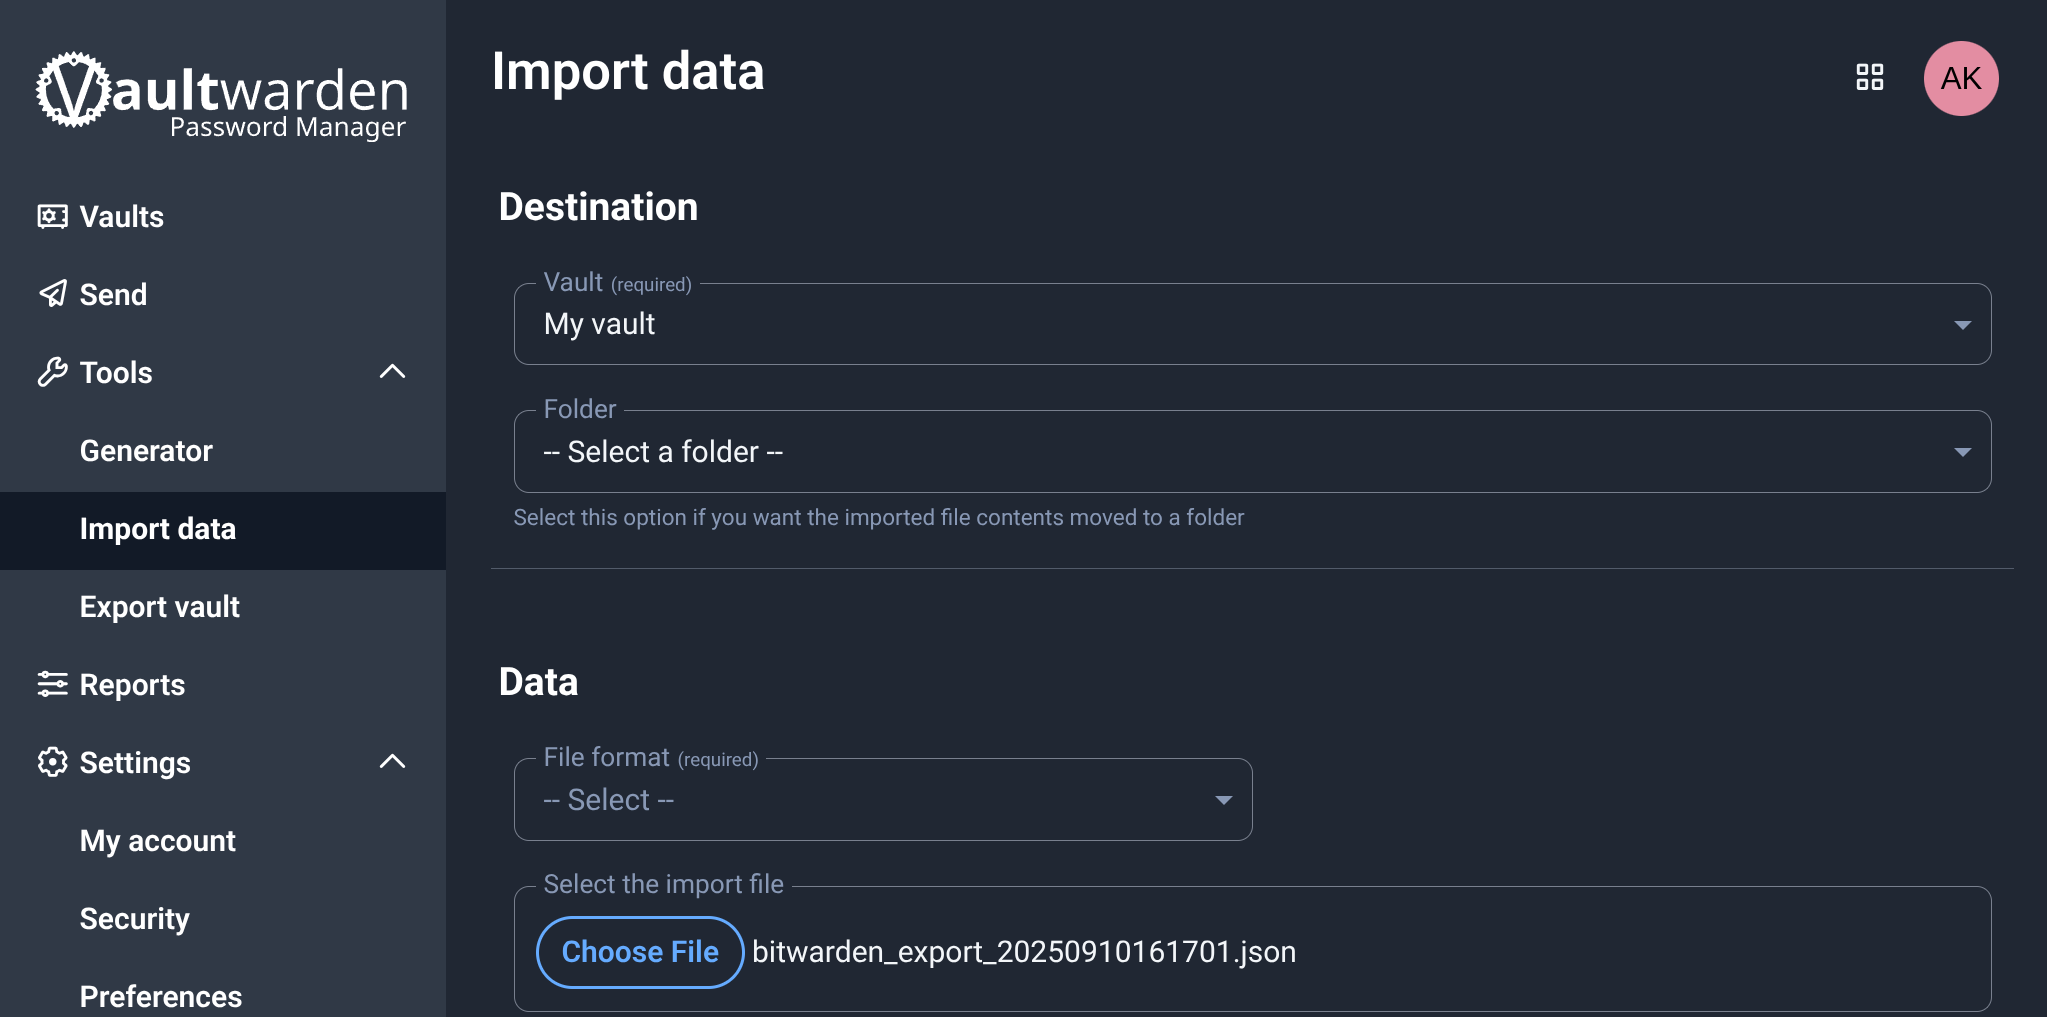
And done! Now my self-hosted version is identical to the cloud version I had been using until now.
Logging into the new self-hosted server
Now just log out of both the mobile App and the browser extension. Then on the login screen you’ll see the following option:
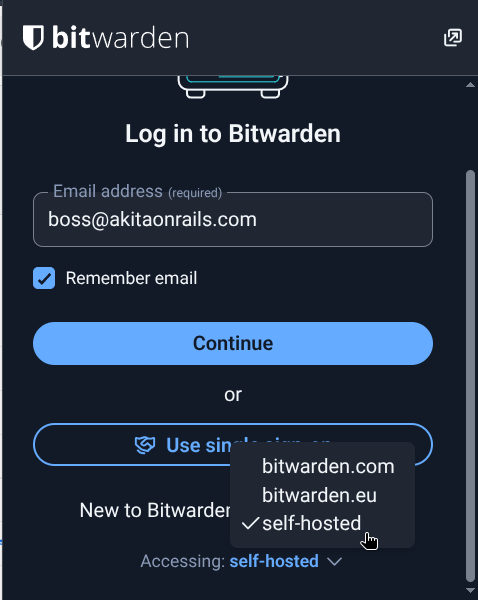
On the web extension the window doesn’t let you see that option, use the mouse scroll and scroll to the bottom of the window and you’ll see that small option. Choose “self-hosted” and a window will open to type the URL https://bitwarden.fabioakita.dev and done!
From here on the usage is exactly the same as before. The interface is the same, the options are the same. Configure biometrics, PIN, lock timeout and everything else the way you like it.
Do the same on the mobile app and done!
On this new account we created on the self-hosted server, don’t forget to enable 2FA too, which is the “Authenticator App” option under “Settings/Security”:
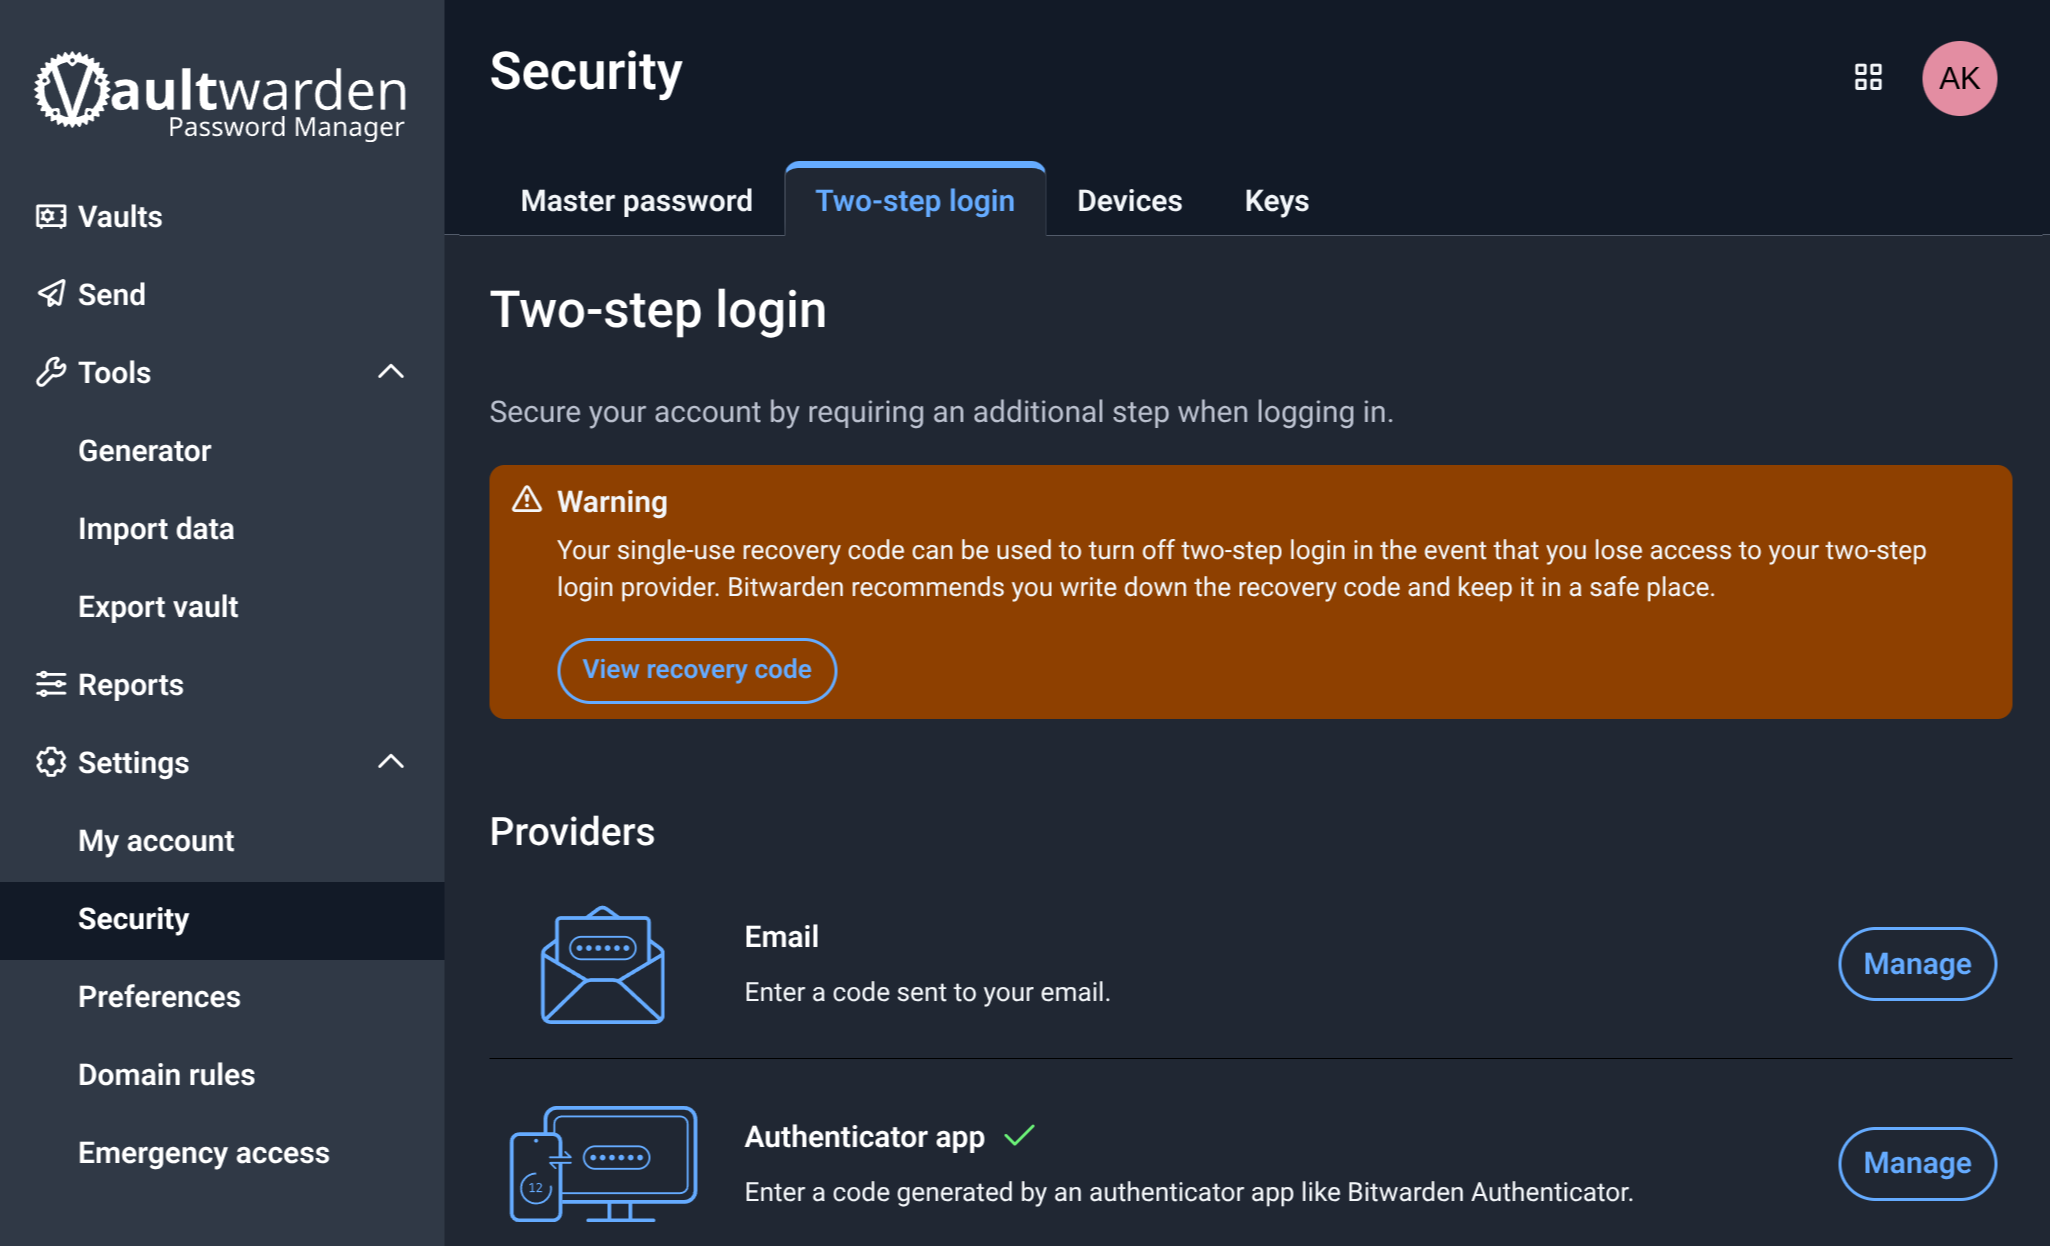
For all other accounts, we can register the 2FA inside Bitwarden. But for the master account of Bitwarden/Vaultwarden itself, we need to use a second app just for that.
I don’t know if it’s the best, but I’ve been enjoying using Aegis Authenticator on my Android:
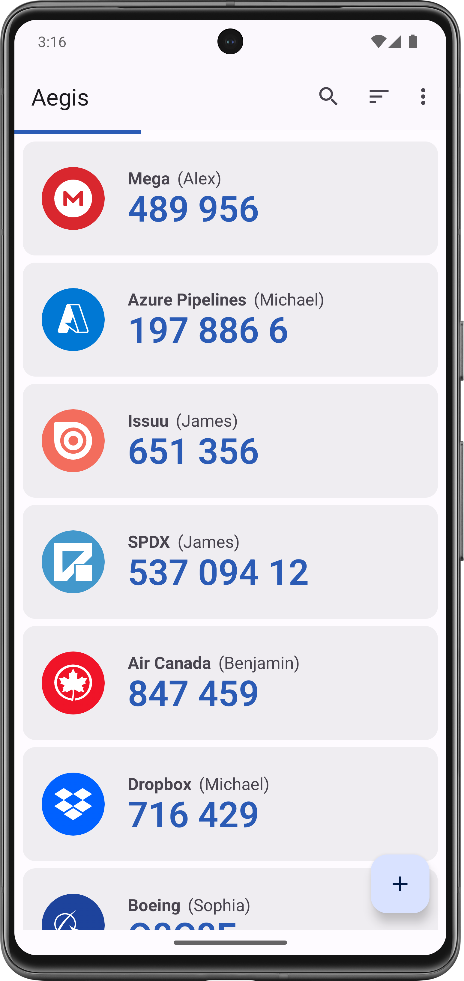
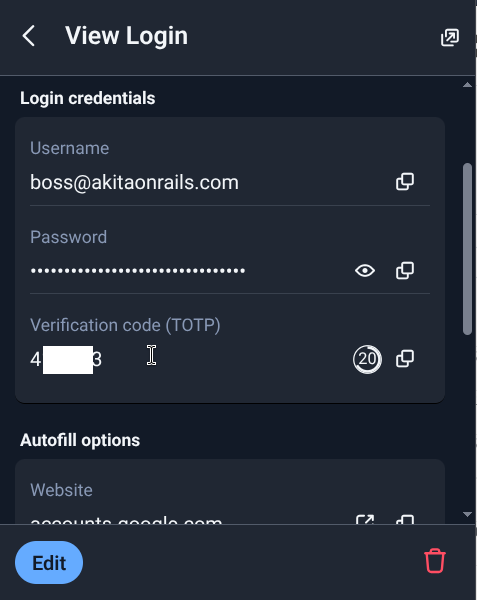
It’s open source, the code is on GitHub, so it seems minimally trustworthy. I also keep it inside the Samsung Knox Vault. I only need it when I have to re-login into Bitwarden/Vaultwarden. To log into Google, Steam or any other account, the 2FA for each one lives inside Vaultwarden itself:
Conclusion
Now all that’s left is to log in with my old account at bitwarden.com, which is the “official” cloud version, and delete my account, to make sure nobody else has access.
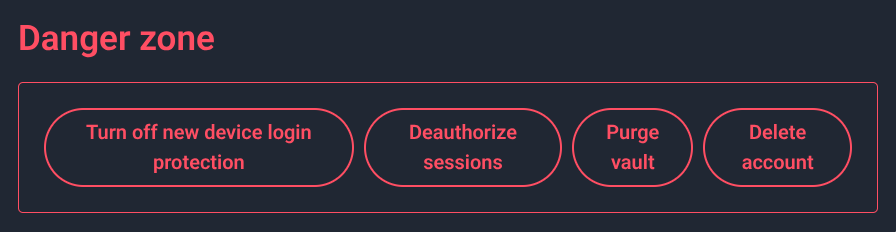
And there, PERMANENTLY DELETED! My accounts no longer exist on some random server I don’t control, even if they were encrypted.
I’m pretty happy with this solution. Now my Vaultwarden is in a container, the home server data gets automatic backups to my NAS, everything is encrypted and access only happens via Cloudflare’s secure tunnel. The risk is very low and nobody has a chance of getting access to my data, because it’s no longer in the “cloud”.
My data is mine alone.